Color Grading in Videomontage: From Flat to Cinematic
Color grading is where mood takes shape. In videomontage, grading does more than make frames pretty. It clarifies time, place, and emotion. You don’t need a Hollywood suite to get cinematic results. You need an order of operations, trustable references, and restraint.
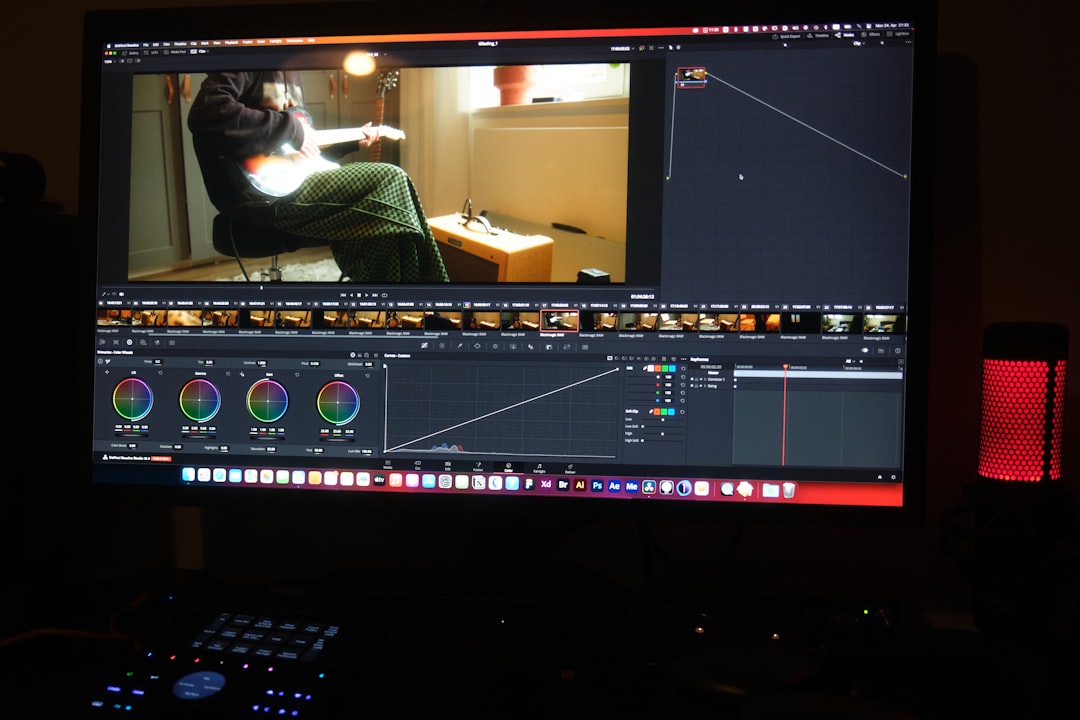
Use scopes, not guesses
The waveform shows luminance distribution; vectorscope shows hue and saturation; parade splits RGB channels. Calibrate your monitor or at least use neutral viewing conditions. Keep skin tones near the skin-line on the vectorscope and ensure highlights don’t clip unless you intend them to. Scopes let you grade consistently across shots and devices.
Primary correction first
Balance exposure, white balance, and contrast before any look. Lift the shadows until detail appears without milking the image. Set midtones for subject clarity. Place highlights where they feel bright but still natural. White balance to neutralize color casts. This establishes a common baseline across your timeline.
Match shots in context
Don’t grade a shot in isolation. Compare adjacent clips with split-screen. Look at subject skin, whites, and neutrals as anchors. If a shot refuses to match, ask whether it needs to be reframed or replaced rather than forced to fit. Matching saves time later when you add your look.
Design a look that supports story
Cool shadows can suggest detachment; warm highlights convey comfort. Lower saturation and higher contrast feel gritty. Soft roll-off and gentle warmth feel romantic. Build your look with a node or adjustment layer after primaries so you can toggle it and refine easily. Keep an eye on brand colors or client guidelines if applicable.
Protect skin tones
Viewers are highly sensitive to faces. Use qualifiers or masks to isolate skin if your creative look shifts it too far. Target subtlety: preserve natural hue and healthy saturation while still allowing the overall scene to breathe. When in doubt, let skin win and push the environment instead.
Manage noise and sharpening
Noise reduction before heavy contrast avoids amplifying grain. Apply only as needed to protect detail. Mild, radius-aware sharpening can restore perceived crispness after NR, but avoid halos. If the footage is very noisy, consider embracing a filmic grain overlay rather than fighting artifacts.
Keep a reference gallery
Collect stills from films, ads, and creators you admire. Use them to align intent, not to copy blindly. Ask what the reference communicates and which parts matter for your story: cooler mids, lifted blacks, or pastel palettes. References keep you from drifting as fatigue sets in.
Deliver for platforms
Grade in a consistent color management pipeline and export to the target space. For web, ensure your delivery looks correct in sRGB on common devices. Test on a phone and a laptop in normal lighting. Render a short test to your final platform to check compression effects.
Restraint is a superpower
Great color grading makes the story feel inevitable. If you notice the grade more than the scene, pull back. With a disciplined workflow—scopes, primaries, matching, look, protection, and platform checks—you can turn flat footage into cinematic images that serve the narrative.